Completing the Onboarding Flow as a Prep Center Owner
Once you’ve signed up, you will automatically be redirected to the onboarding flow.
The onboarding flow needs to be completed to get access to the platform. This flow consists of three steps:
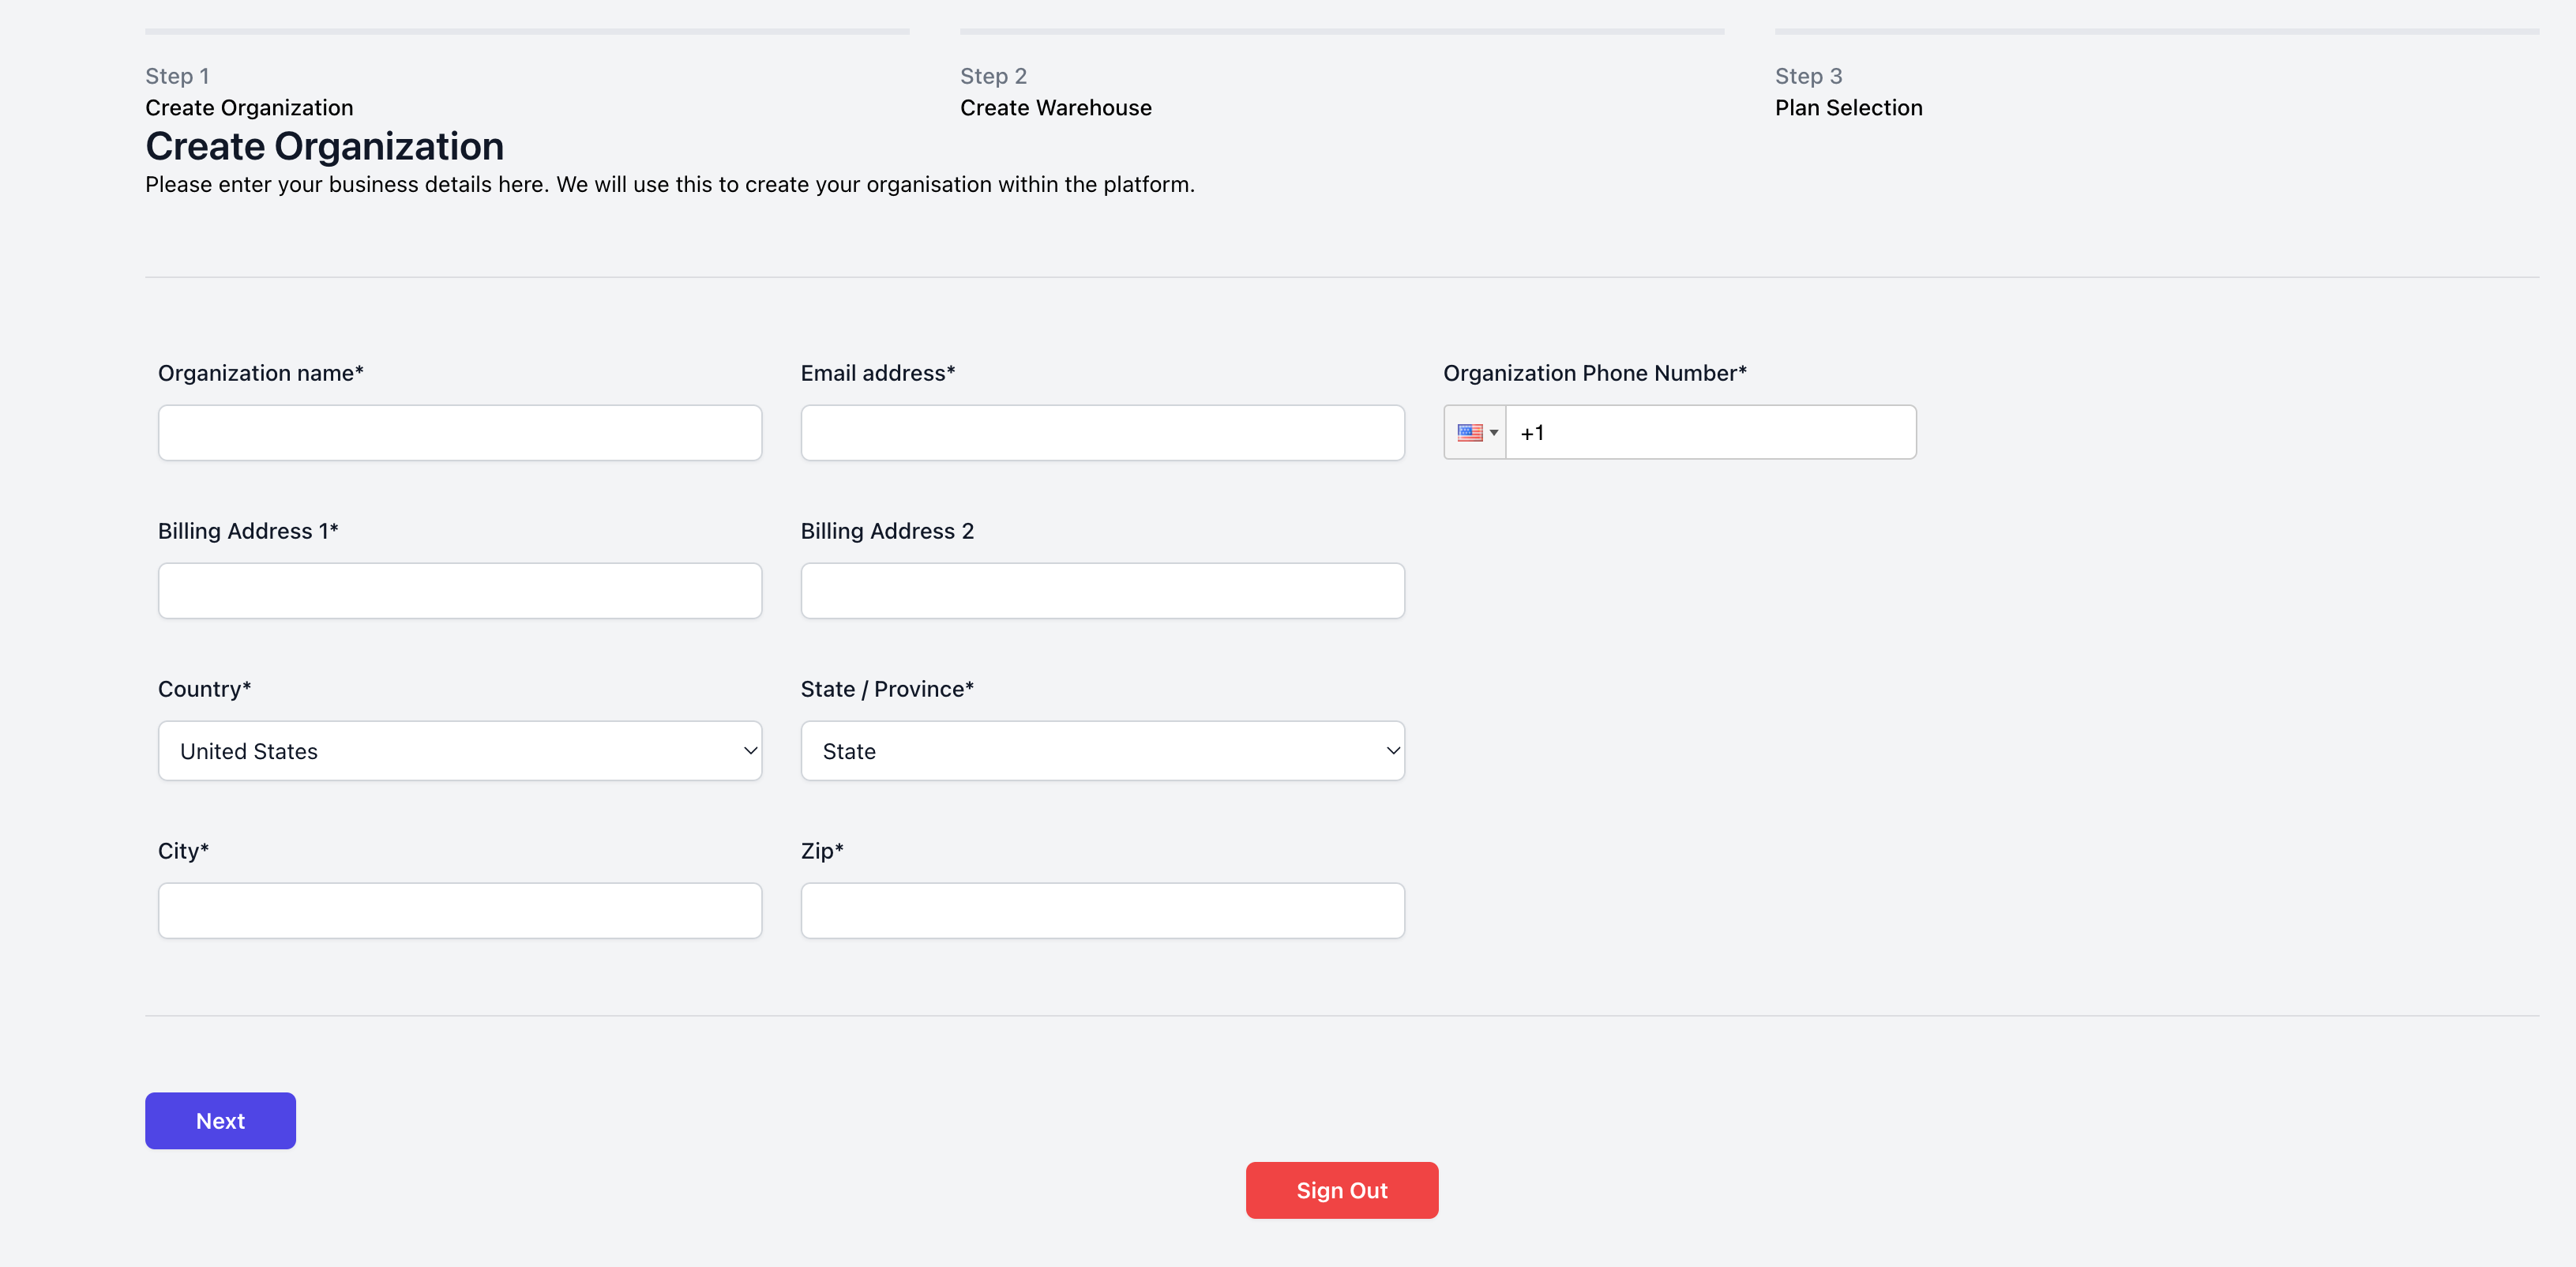
Step 1: Create Organization
The first step is to specify the organization details. This refers to details about your business. You’ll be asked to specify the following details:
Organization Name - Name of your business
Email Address - Pre-populated from the email address you signed up with
Organization Phone Number
Billing Address Details
If the country chosen is United States, then on submitting this information, your address will be passed through validation (powered by the United States Postal Service Address Validator)
A recommended address will be populated. You can choose to ignore this or overwrite this with your existing address.

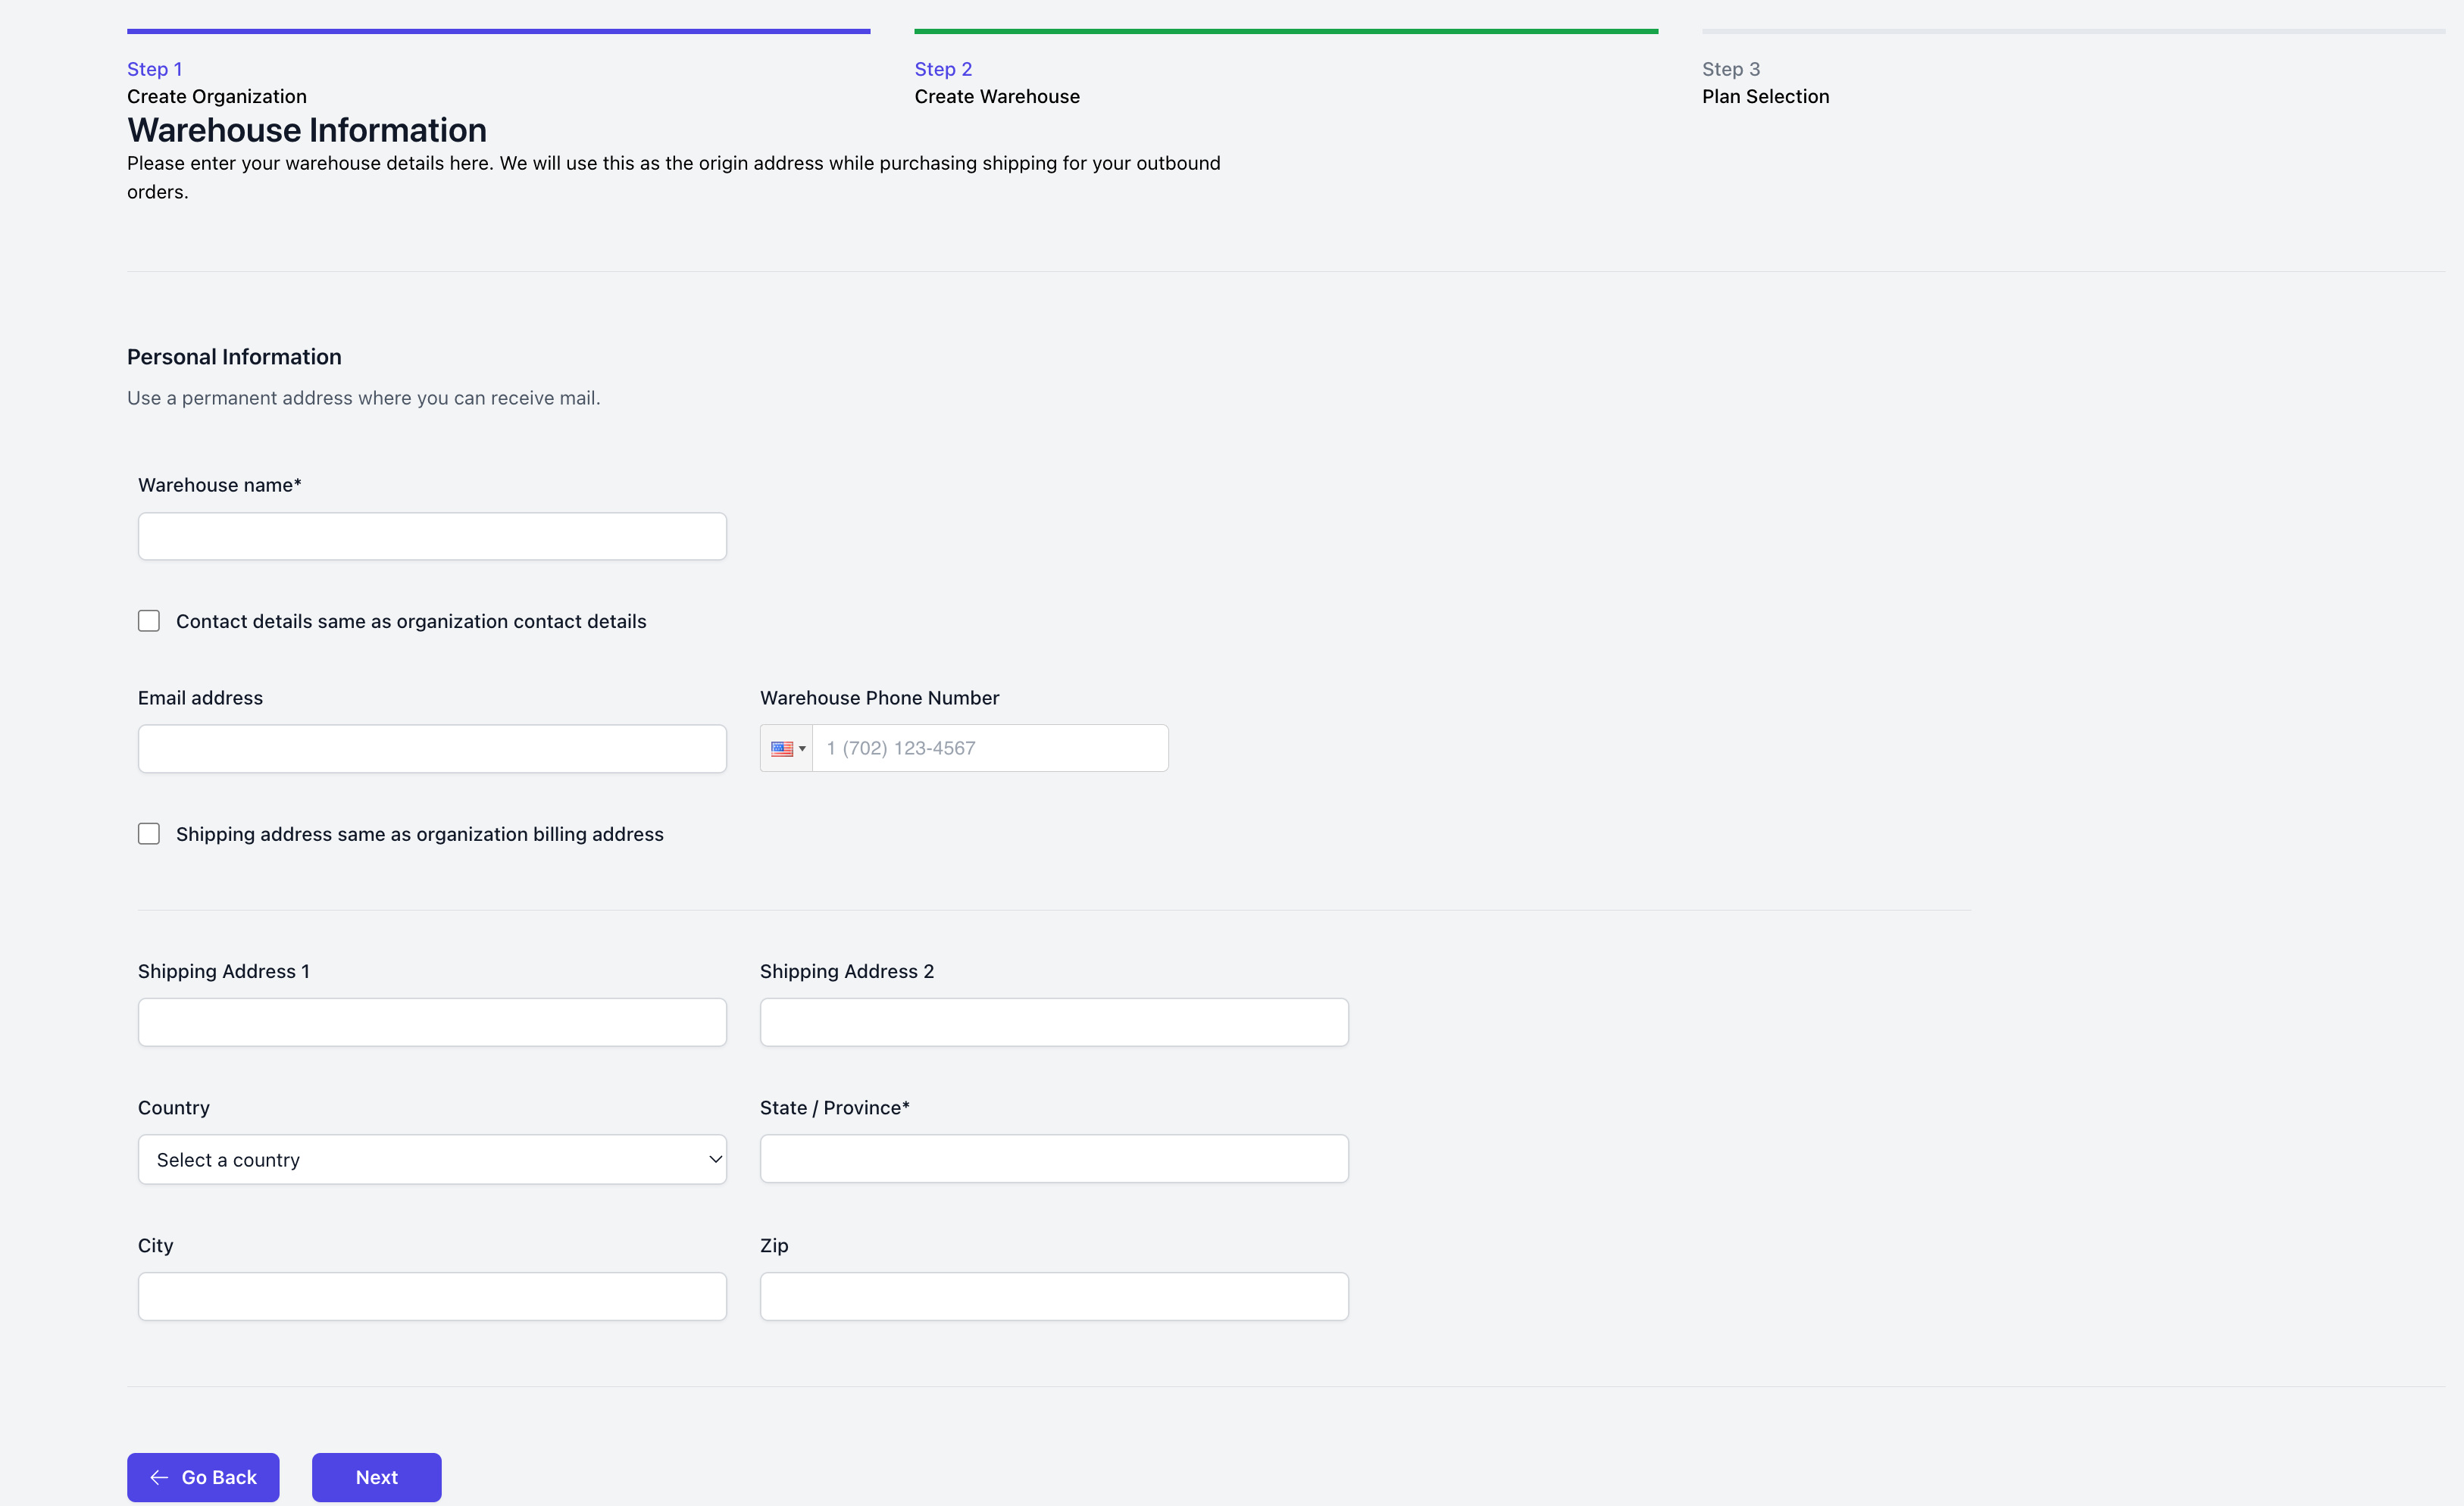
Step 2: Create Warehouse
The second step is to specify the warehouse information. You can choose to copy over the information you specified in the organization screen, or you can choose to input a fresh set of information. The required fields are as follows:
Warehouse Name - Name of your warehouse
Email Address - Pre-populated from the email address you signed up with
Warehouse Phone Number
Shipping Address Details
The address specified in warehouse details is going to be specified as the 'ship-from' address for all shipments.
If the country chosen is United States, then on submitting this information, your address will be passed through validation (powered by the United States Postal Service Address Validator)
A recommended address will be populated. You can choose to ignore this or overwrite this with your existing address.

Step 3: Billing Details and Plan Selection
On this screen, you will be prompted to choose a billing plan. After selecting the plan, you will be redirected to our payments processor (Stripe) to set up your billing details.
All plans come with a 15-day trial unless otherwise specified by the Hopstack Ignite team. You can choose to cancel your subscription at any point until the 15-day mark and your payment method will not be charged.
Once all the steps have been completed, you will be redirected to the login page. Here you will be able to see your first-time user checklist and interact with the entire platform without any restrictions.