
Guide to Creating a Private Amazon App Seller Account for FBA/FBM Integration
Guide for Amazon FBA/FBM Private App
PART 1: Creating private Amazon App Seller Account
Login into your Seller Central account through this link https://sellercentral.amazon.com/
In the Top navigation bar look for the "Partner Network" menu and expand it similar to the screenshot below
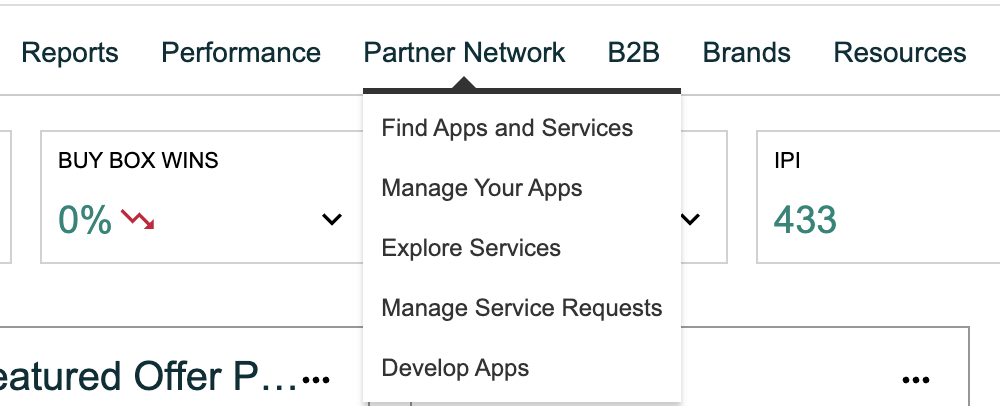
Click on "Develop Apps" from the "Partner Network" menu
Choose/Create your own profile while redirecting to a partner network
You'll need to register for a developer profile and fill the following details:
Organization name - name of your business
Organization home country - country
Primary contact name - name of account admin
Contact email - email of account admin
Contact country code | Contact phone number - phone number of account admin
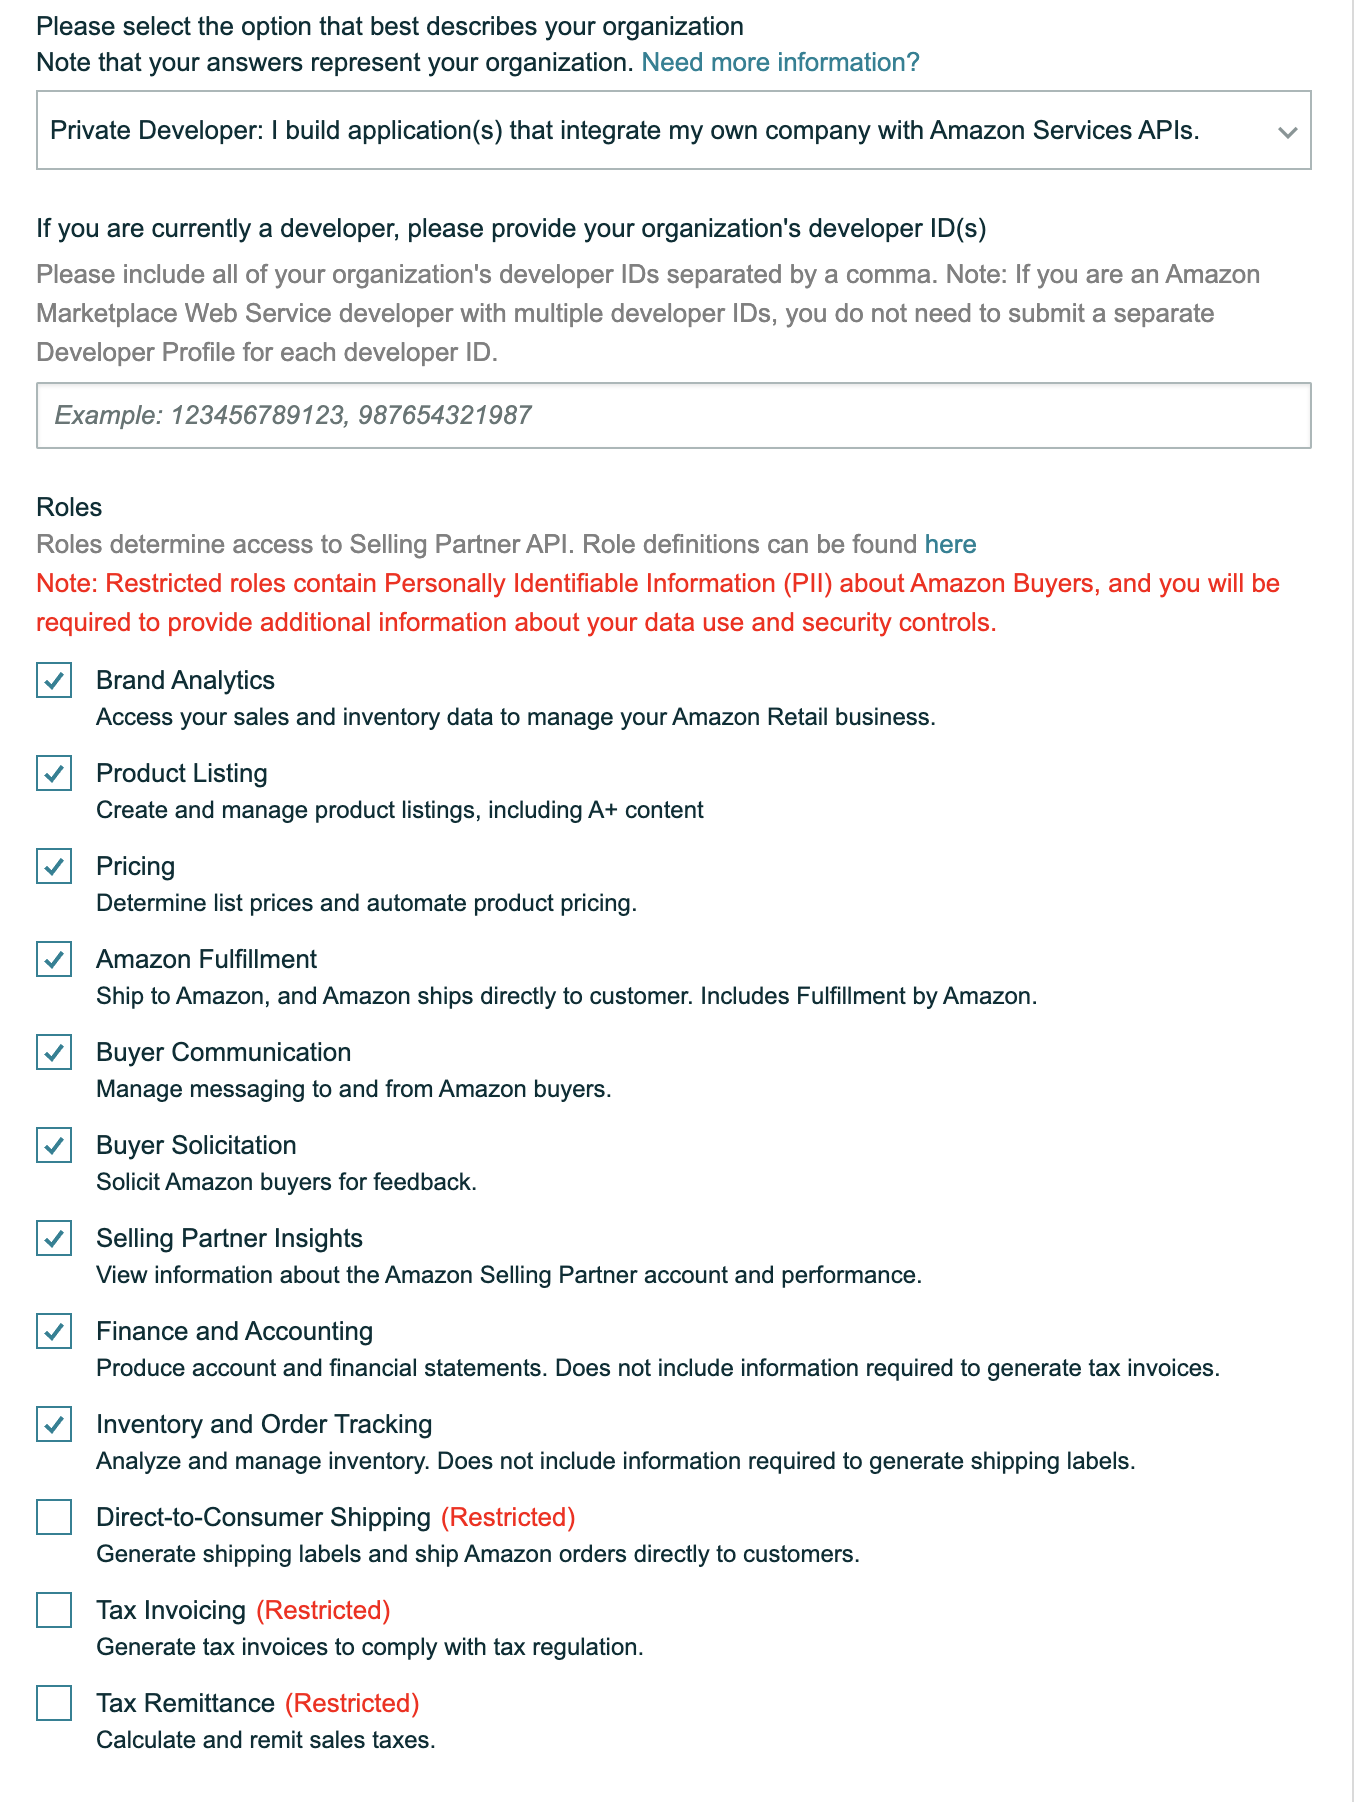
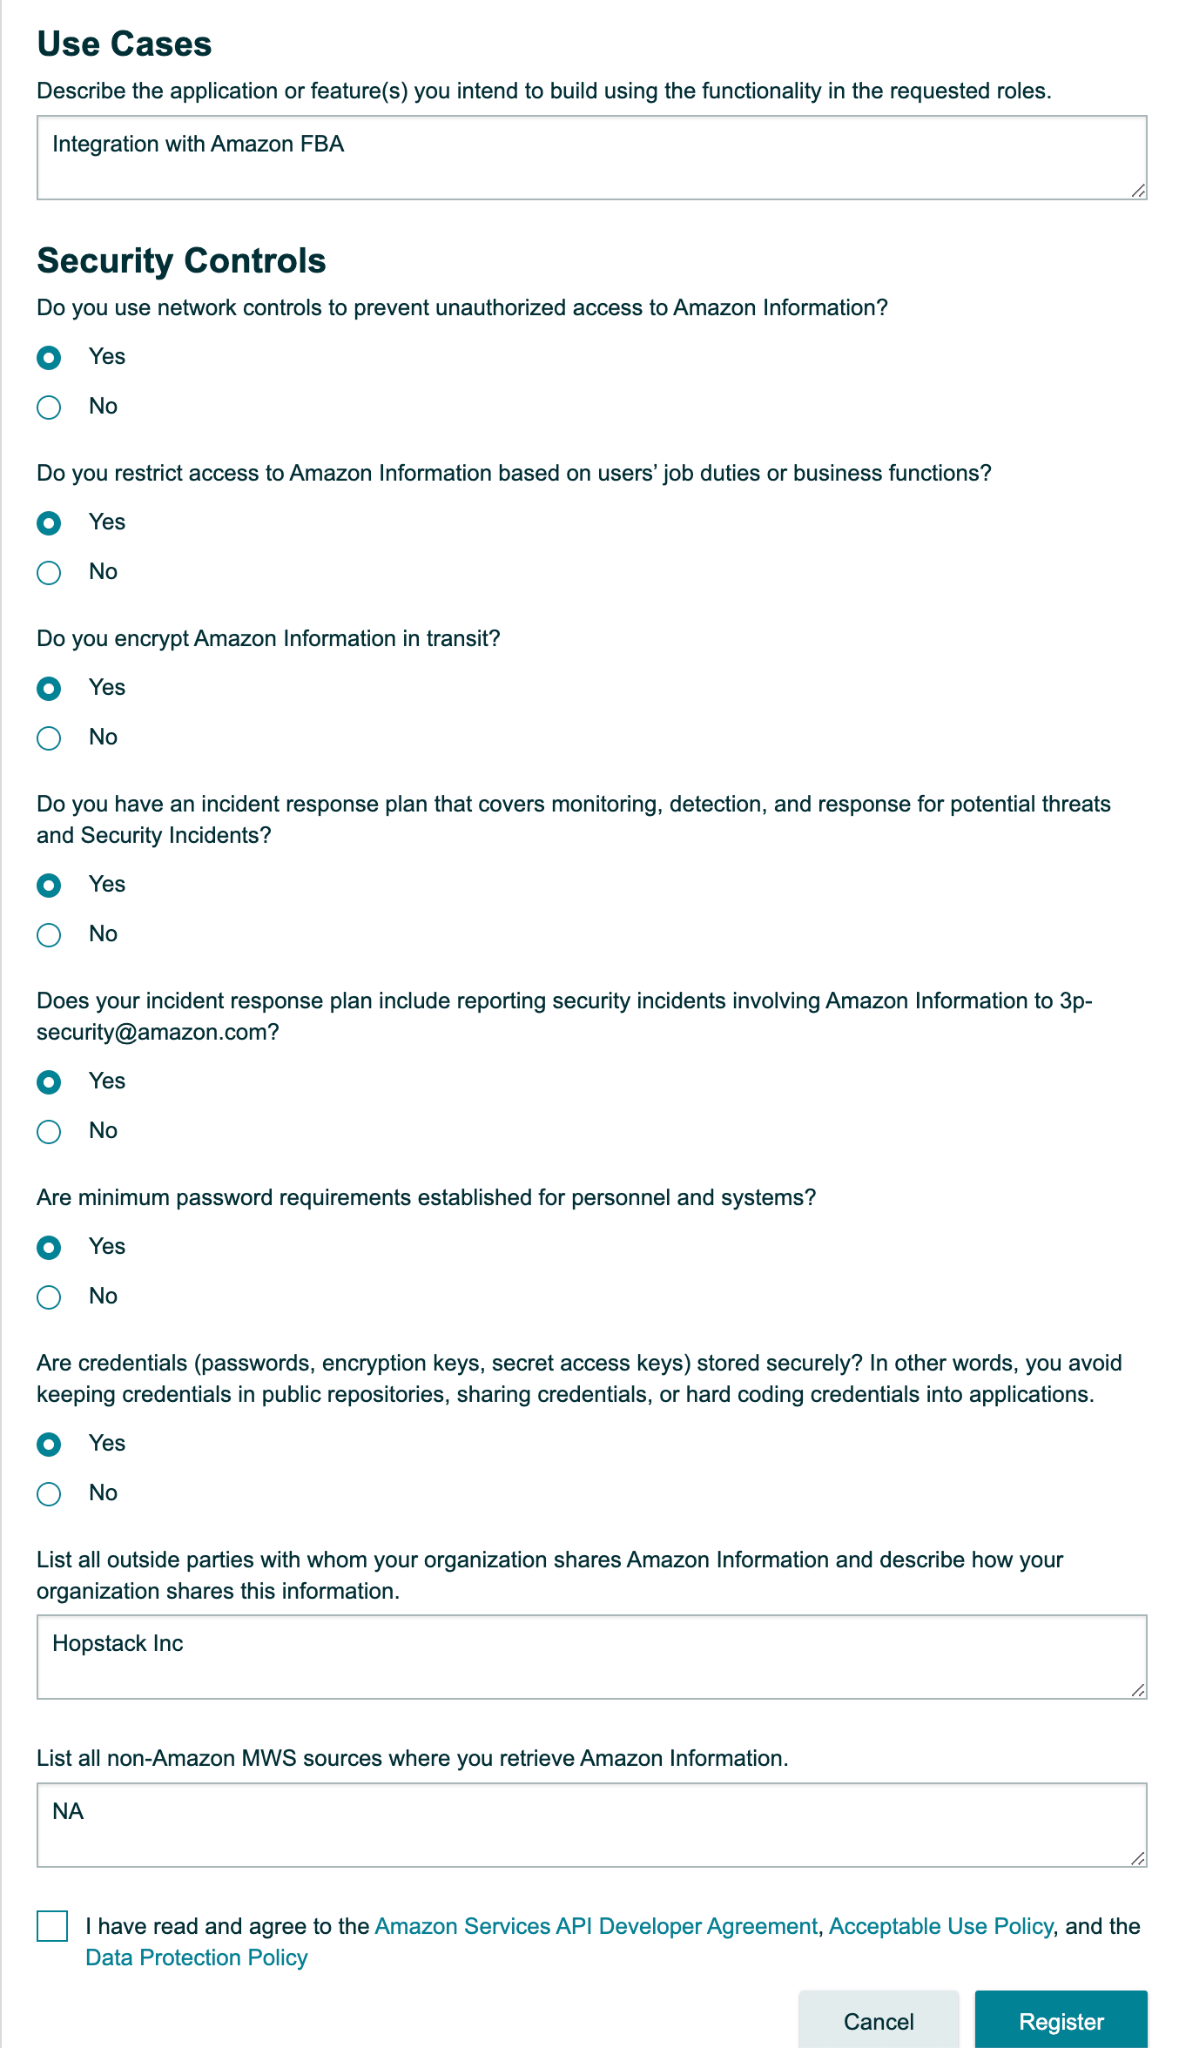
Data access section - Please enter the values as per the screenshots below
Explain your primary business activity on Amazon and how your business will utilize Selling Partner API in its operations
A: We want to use SPI API to develop in-house solutions for managing warehouse inventory. We would like to send inventory to amazon using FBA, Coordinate shipping and BOLs, Manage returns
Describe the application or feature(s) your organization intends to build using the functionality in the requested roles
A: Ability to send and manage inventory with FBA - Ability to manage returns - Ability to generate shipping labels and BOL for FBA
Once you register for the developer profile, your profile would be "Under Review". This will last up to 10 minutes before the profile is auto-approved.
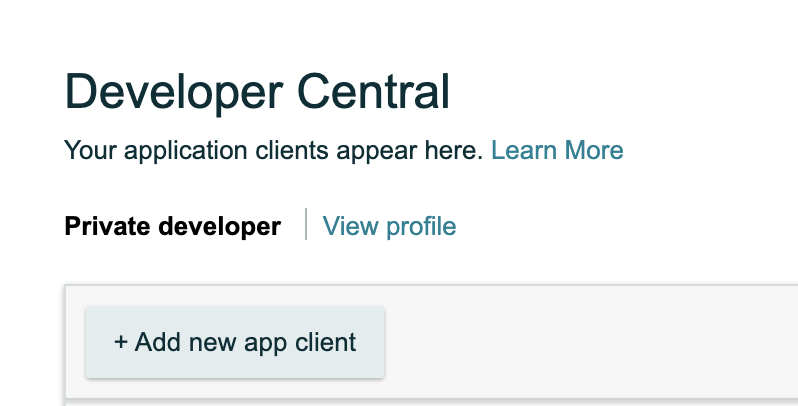
Once the developer profile is approved click on the "+ Add New App Client" button similar to the screenshot below
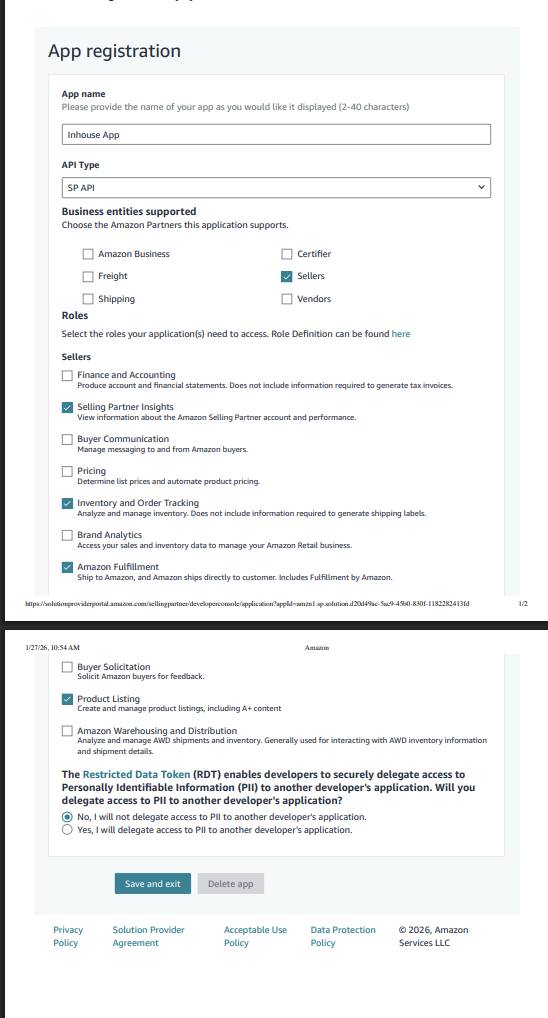
Please enter the details of the app as follows and click "Save and Exit":
App name - Hopstack app
API type - SP API
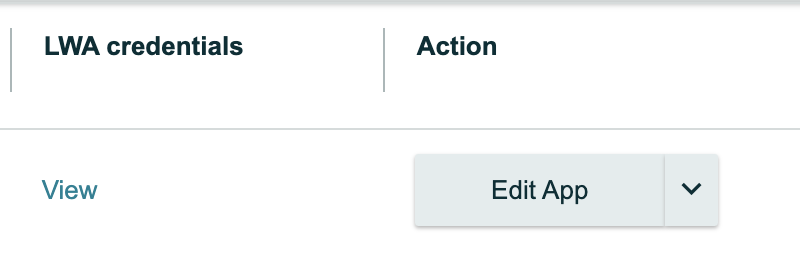
On the developer screen against the newly created "Hopstack" app click on the downward arrow next to the Edit App button as shown below

Click on "Authorize App" within the relevant marketplace as shown below

IMPORTANT: Once Authorized there would be a long "refresh token" generated. Please copy and store that securely. We will need it in a subsequent step.
Go Back to the developer screen and click "View LWA Credentials" as shown below
Copy the "Client Identifier" and save it securely
Expand the "Client Secret" section and copy the code, save it securely
At this point, ensure you have the following three pieces of information. If any of these details are missing kindly verify all steps of this document have been followed:
Refresh Token
Client Identifier
Client Secret
Part 2: Onboarding a Customer on the Ignite Platform and Connecting the Amazon Seller Account
Login to Ignite App through the link and credentials provided
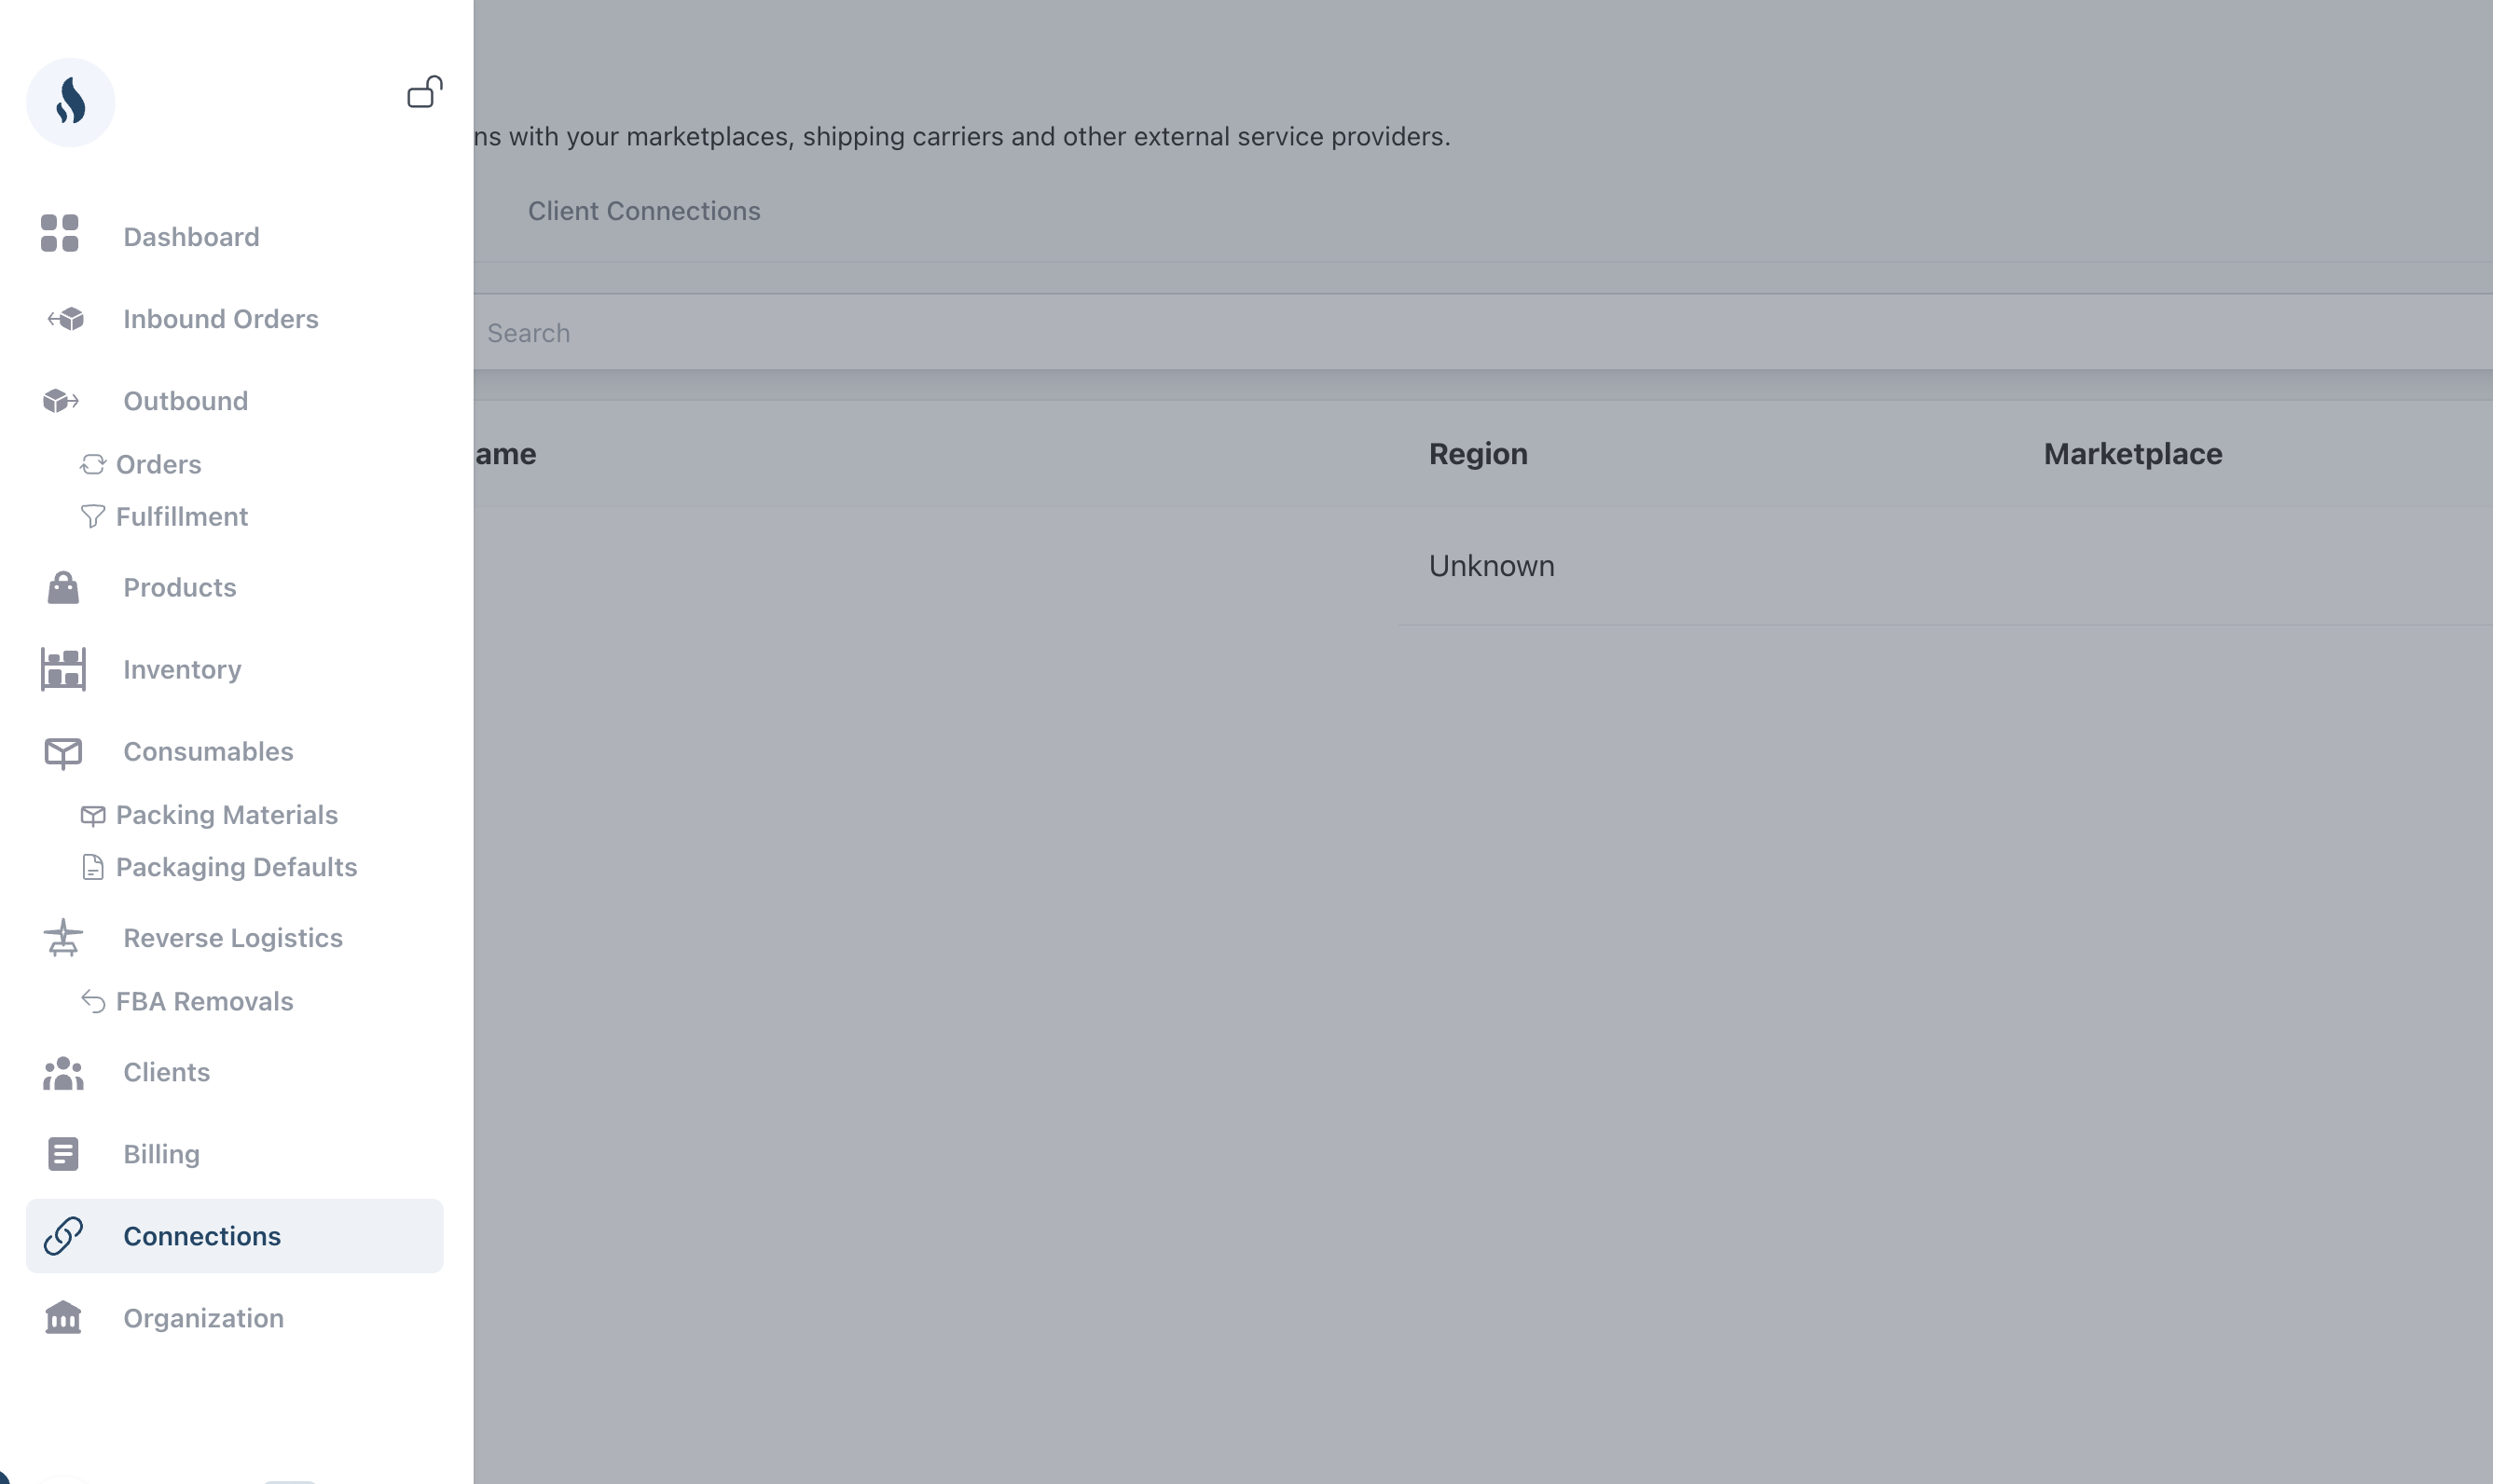
Navigate to "Connections” as shown below
Click on "Add new connection" and choose Private App. Enter the details that were stored securely earlier in this document
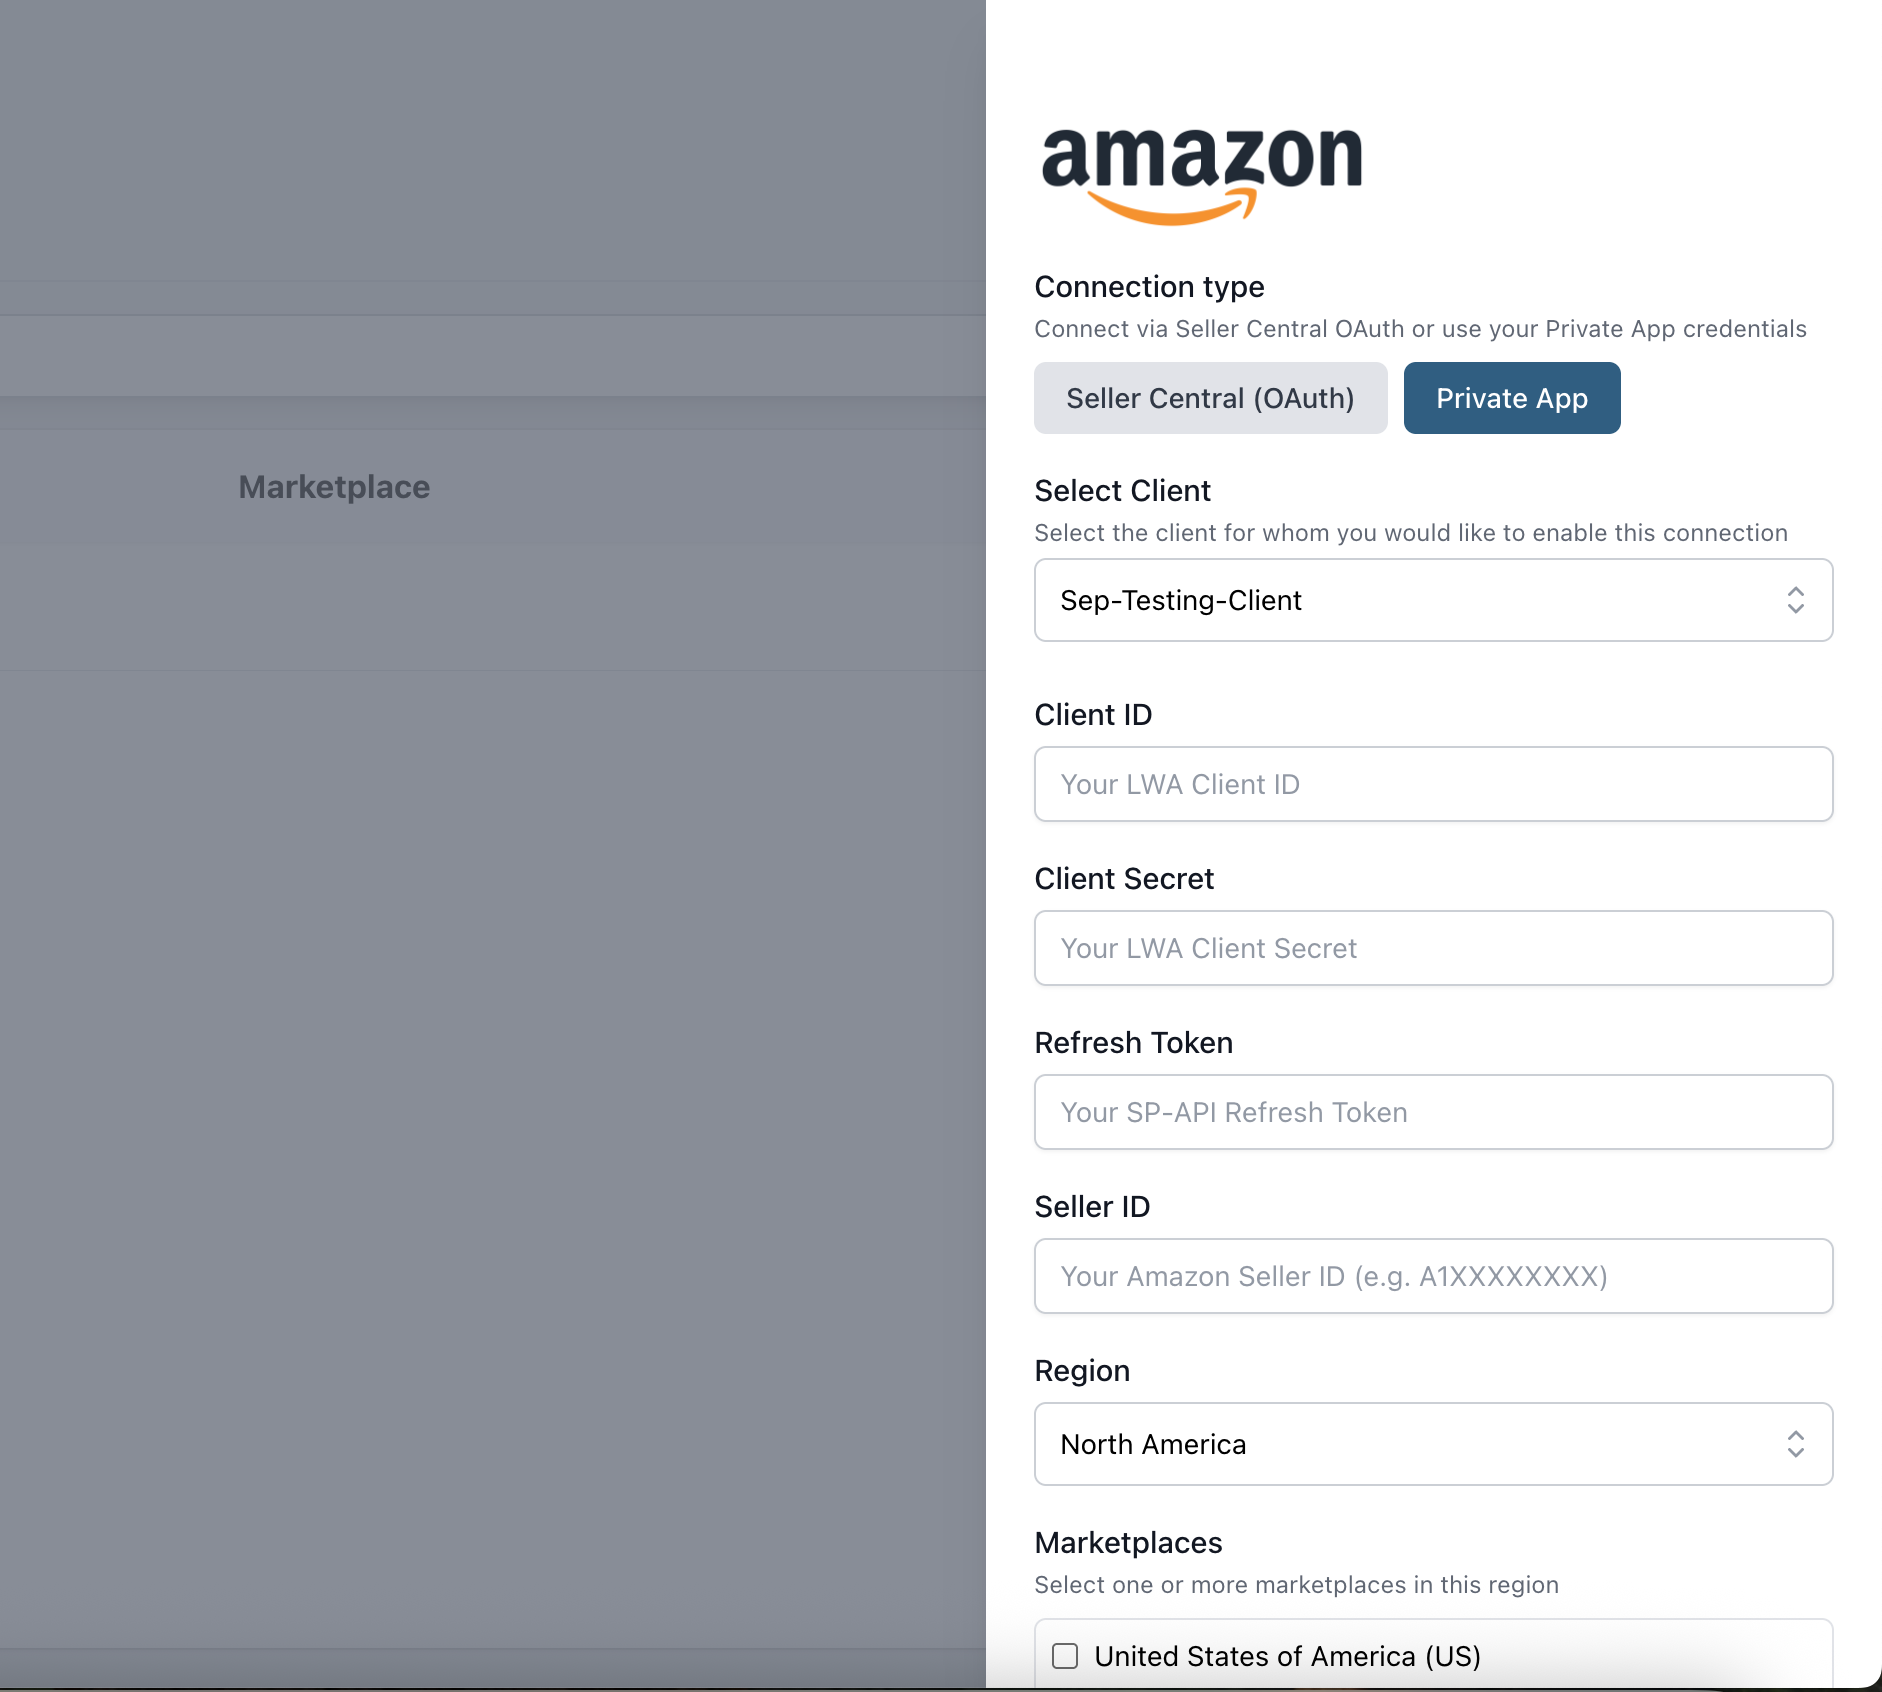
Once you "Submit"
You're completely set up and good to go
Support
If you have any questions or face any issues in the implementation, please email: support@ignitefulfill.com